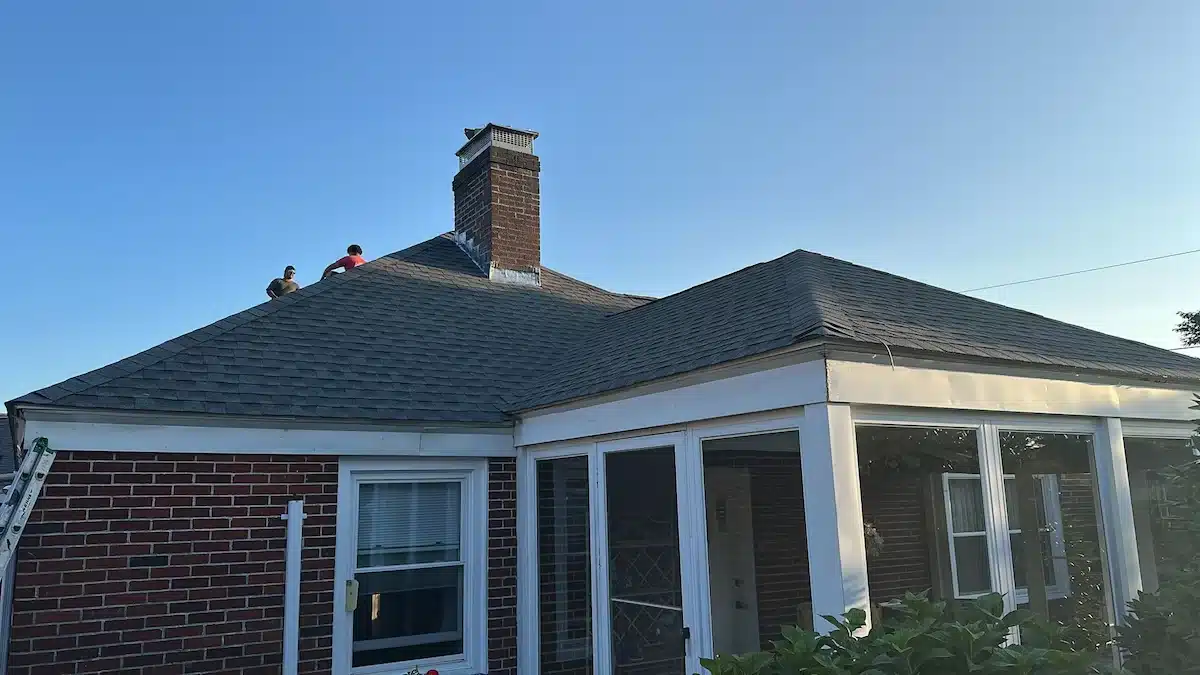
Roof-to-wall flashing repair in Massachusetts often starts with a gap that looks too small to cause much trouble. Yet when a sloped roof meets a dormer or exterior wall, even a narrow opening can let wind-driven rain enter behind the shingles and siding. Once inside, water may travel along roof decking, wall sheathing, insulation, or framing before a stain appears indoors.
That delay is what makes these leaks so damaging. The wet area you notice may be several feet from the point where water first entered, and the materials behind the wall can deteriorate long before the problem becomes obvious.
Quick answer: Shingles cannot waterproof a roof-to-wall joint by themselves. Properly layered step flashing, headwall flashing, counterflashing, and kickout flashing direct water down the roof and away from the wall. If one piece is missing, loose, corroded, poorly overlapped, or disconnected from the wall’s drainage layer, a small defect can lead to a large hidden leak.
What Is Roof-to-Wall Flashing?
Roof flashing is a water-shedding material, usually made from corrosion-resistant metal, installed where ordinary roofing materials cannot safely manage a transition. Around a dormer, several flashing components may work together:
- Step flashing protects the sloped sidewalls of a dormer or any location where an asphalt-shingle roof runs beside a vertical wall. Individual pieces are layered with successive shingle courses so water continues moving down the roof.
- Headwall or apron flashing protects the horizontal junction where the upper end of a roof slope meets the front face of a wall or dormer.
- Counterflashing or properly integrated wall covering overlaps the upper portion of the flashing so water cannot run behind it.
- Kickout flashing sits at the lower end of a roof-to-wall intersection and diverts runoff away from the siding and into the gutter.
- The water-resistant barrier and underlayment provide secondary drainage behind the visible roof and wall materials. They must overlap the flashing in the correct direction so water is guided outward.
These components do not work independently. A roof can have new shingles and still leak if the flashing is reused incorrectly, installed out of sequence, or disconnected from the siding and house-wrap system.
Why Small Flashing Gaps Can Cause Serious Damage
A roof handles a large volume of water during heavy rain. At a roof-to-wall junction, that runoff is concentrated along a narrow channel. Wind can push it sideways or uphill beneath a lifted edge, while surface tension can pull it through a small opening.
Once water crosses the exterior drainage layer, it can spread through concealed parts of the home. Possible damage includes:
- Rotted roof decking or wall sheathing
- Damp or compressed insulation
- Mold or mildew inside a wall or attic
- Stained ceilings and peeling interior paint
- Deteriorated dormer trim or siding
- Damage near the fascia, soffit, or gutter at the end of the wall
Vinyl siding, fiber-cement siding, and other durable claddings can sometimes hide the early evidence. That is why a home may appear sound from the ground even while moisture is affecting the materials behind the siding.
Why Dormer and Sidewall Leaks Are Common in Massachusetts
Homes across Plymouth County, the South Shore, Cape Cod, Greater Boston, and other parts of Massachusetts experience conditions that repeatedly test roof-to-wall details.
Heavy rain and coastal wind can drive water against dormer sidewalls instead of letting it fall straight down the roof. Freeze-thaw cycles can widen an existing separation or stress aging sealant. Snow and ice may hold moisture against a vulnerable junction. In coastal communities such as Plymouth, Duxbury, Marshfield, Scituate, Hull, and Quincy, material compatibility and corrosion resistance are also important considerations.
Older New England homes can present another challenge. Roofs, dormers, siding, and additions may have been installed or replaced at different times by different contractors. A junction can look finished from the outside while the hidden layers no longer form one continuous drainage system.
Seven Signs of a Roof Flashing Leak Around a Wall or Dormer
1. A Ceiling Stain Beside a Dormer
A brown ring or damp patch near an upstairs ceiling or exterior wall may point to a flashing problem. The stain does not always sit directly below the opening because water can follow framing or sheathing before dripping.
2. Leaks That Appear Only During Wind-Driven Rain
If the problem occurs when rain blows from one direction, water may be entering a sidewall junction that remains dry during lighter, vertical rainfall.
3. Peeling Paint, Soft Trim, or Swollen Siding
Damage near the bottom corner of a dormer or below a roof-to-wall intersection can indicate that runoff is reaching the wall instead of being directed into the gutter.
4. Dark Streaks, Algae, or Repeated Dampness Below the Junction
Staining on the siding below the lower end of a roofline can be a clue that kickout flashing is missing, undersized, or directing water behind the gutter.
5. Damp Insulation or Musty Odors in the Attic
An attic inspection may reveal wet insulation, darkened wood, rusted fasteners, or a musty smell near a dormer even when no active dripping is visible.
6. Visible Gaps, Bent Metal, or Heavy Patches of Roof Cement
Separated flashing, exposed fasteners, bent edges, and repeated beads of caulk or roof cement often indicate a history of patching. Sealant may help in a limited detail when used as specified, but it is not a substitute for correctly layered flashing.
7. A Leak That Returns After the Shingles Were Repaired
Replacing a few shingles will not solve a leak caused by the roof-to-wall assembly. If water returns after a surface repair, the flashing and hidden drainage layers need to be evaluated as a complete system.
The Most Common Causes of Dormer Flashing Failure
Missing or Improperly Layered Step Flashing
On an asphalt-shingle roof, individual step-flashing pieces should work with each shingle course. If pieces are missing, too short for the assembly, underlapped, or installed in the wrong sequence, runoff can move behind the wall covering.
Old Flashing Reused During a Roof Replacement
Existing flashing may be bent, punctured, corroded, or incompatible with the new roofing layout. Reusing it without a careful evaluation can leave a weak point beside an otherwise new roof.
Missing Kickout Flashing
The bottom of a roof-to-wall junction carries concentrated runoff. A kickout diverter helps send that water into the gutter instead of allowing it to wash down or enter behind the siding.
Siding Installed Too Close to the Roof Surface
When siding touches the shingles, it can absorb moisture, collect debris, conceal the step flashing, and make the junction difficult to inspect or repair. The proper clearance depends on the siding and roofing manufacturers’ requirements and the project design.
Poor Integration With House Wrap or Underlayment
Flashing must be connected to the roof and wall drainage planes in a water-shedding sequence. If house wrap or membrane terminates behind the wrong layer, water can bypass visible metal flashing.
Storm, Ice, or Age-Related Movement
Strong wind, shifting ice, repeated temperature changes, loose fasteners, and corrosion can open a previously watertight detail. Coastal exposure makes the choice of compatible, corrosion-resistant materials especially important.
Can Dormer Flashing Be Repaired Without Replacing the Entire Roof?
Yes—many dormer flashing problems can be repaired locally when the surrounding shingles are serviceable and hidden damage is limited. A professional may remove selected shingles and siding, inspect the underlayment and sheathing, replace damaged flashing, and rebuild the junction in the correct sequence.
A broader roof repair or replacement may make more sense when:
- The roof is already near the end of its useful life
- Shingles are brittle or cannot be removed and reinstalled reliably
- Several walls, dormers, or penetrations are leaking
- Moisture has damaged a large area of roof decking or wall sheathing
- The roof has received repeated short-term patches
- The original flashing details are incorrect throughout the roof
The right decision depends on what is happening below the surface—not only on the size of the stain inside the home.
What a Professional Roof-to-Wall Flashing Inspection Should Check
A useful inspection should assess more than the visible metal edge. The roofer should examine the full path water is supposed to follow from the upper wall to the roof and into the gutter.
That evaluation may include:
- Checking the dormer sidewalls, headwall, lower corners, and gutter connection
- Looking for staining, corrosion, open laps, exposed fasteners, or patch materials
- Inspecting the attic and interior finishes for moisture patterns
- Determining whether the flashing is integrated with the shingles, underlayment, siding, and water-resistant barrier
- Carefully opening a limited area when hidden damage is suspected
- Checking the condition of roof decking, wall sheathing, trim, and insulation
- Recommending a localized repair or a larger roofing solution based on the extent of the damage
Because leak paths can be unpredictable, the visible indoor damage should be treated as a clue rather than proof of the exact entry point.
How Massachusetts Homeowners Can Reduce the Risk of Flashing Leaks
You do not need to climb onto the roof to catch early warning signs. From the ground and from safe interior areas, homeowners can:
- Look for stains below dormer corners and roof-to-wall intersections
- Check upper-floor ceilings and attic areas after strong, wind-driven rain
- Keep gutters and downspouts clear so water can leave the roof efficiently
- Schedule an inspection after major wind or ice events if damage is suspected
- Have flashing reviewed when roofing or siding is replaced
- Make sure roofing and siding work is coordinated at shared junctions
- Avoid treating recurring leaks with caulk alone
Do not walk on a wet, steep, icy, or unfamiliar roof. A safe professional inspection is the better choice when the flashing cannot be evaluated from the ground or attic.
Roof-to-Wall Flashing Repair Across the South Shore and Massachusetts
A small dormer or sidewall leak rarely fixes itself. Each storm can carry more water behind the exterior, expanding a limited flashing problem into damaged sheathing, insulation, trim, or interior finishes.
Marine Home Improvement has served Massachusetts homeowners since 2001 and provides roofing and exterior remodeling services across Plymouth County, Norfolk County, Bristol County, Barnstable County, Suffolk County, Middlesex County, Essex County, and Worcester County. Our team can assess how the roof, flashing, siding, trim, and drainage details work together and recommend repair or replacement based on the condition of the complete assembly.
If you have noticed a stain beside a dormer, dampness after wind-driven rain, or deterioration where a roof meets an exterior wall, schedule an inspection before the next storm exposes the same opening again.
Why Choose Marine Home Improvement?
Since 2001, Marine Home Improvement has been a trusted roofing and exterior remodeling specialist serving homeowners across Massachusetts. Our team delivers high-quality roof replacements, durable siding installations, custom decks, and professional window upgrades—always with clear communication and a commitment to excellent workmanship.
We use premium materials from trusted suppliers and provide detailed, transparent estimates so you always know what to expect. With strong warranties on both labor and products, you can feel confident your home is in expert hands.
Our BBB accreditation and consistent 5-star feedback on Facebook and Yelp highlight our dedication to reliability and customer satisfaction. When you choose Marine Home Improvement, you’re choosing quality, honesty, and long-lasting results.
Need roof-to-wall flashing repair in Massachusetts?
Marine Home Improvement can inspect dormer and exterior-wall flashing, identify the source of leaks, and recommend the right repair before water damage spreads.